Recent Blog Posts
- Where Do We Go From Here? - December 18, 2023 Trying to figure out how I want to manage projects/what projects I aspire to.
- Well That Happened - December 13, 2023 Just a little life update.
- Please Don't Drink Out of Plastic - November 28, 2023 Plastic isn't good to drink from, but not necessarily for the reasons you might expect.
- Moving! - November 25, 2023 Server movement
- Requesting Patient Assistance from Pharma Companies - November 14, 2023 So you can't afford your meds; your insurance is ass, and the US healthcare system is hell. What do you do? Here's a place to start.
- Compost Bin for Balconies: a How-To Guide - November 8, 2023 How to make a cheap balcony compost bin.
- Reporting Medication Issues (and Why It Matters) - October 31, 2023 Side effect? Odd symptoms? Does a medication make you fall asleep? Did your package arrive lumpy? Here's what to do.
- Curiosity, Exploration, Mental Health and the Tiny Web - October 25, 2023 Exploring is a natural human state, and we're suppressing it.
- Camping - October 23, 2023 I went camping and enjoyed it, and I'm a little mad about it.
- Comments - October 20, 2023 I've added a comment function!
- My Internet Manifesto - October 18, 2023 My Internet Manifesto: I believe all people should be able to access information and create in their own ways, with respect and dignity.
- Manifesto Thoughts - October 18, 2023 My Internet Manifesto: I believe all people should be able to access information and create in their own ways, with respect and dignity.
- Wiki! - October 16, 2023 I've added a wiki to the site
- Fic Recs, other Recs, and UGH - October 15, 2023 Updates in the rec section, and man, I've got ill again. Ugh.
- Everybody Does It: Gender Affirming Care - October 10, 2023 Do you ever think about how you practice gender affirming care? I'm talking about cis people too. Regardless of how you figured out your gender, birth or transition, everyone with a gender tends to have gender affirming care.
- Four Thousand and Twenty Two People Saved - October 4, 2023 It's got me thinking, about the nature of media and intangibility of digital data. Streaming is so much the norm that it's actually odd to own DVDs for a lot of people now. There's a deliberate attitude to physical media that digital media simply doesn't have.
- Thoughts on Seeing Hozier - September 30, 2023 The Unreal Earth Tour.
- Essay Section Now Live - September 28, 2023 The Essay section is up. Does it have everything? No, but it's a start, anyway. Also I believe I finally finished fixing my CSS to work on phones.
- Working the System - September 27, 2023 Let's talk stupidly simple, actionable things.
- Update, Some Thoughts - September 26, 2023 Made some updates!
- Plans for DistinctiveStatic - September 24, 2023 So, first blog. Momentous occasion. I figured I'd use it to document the next few steps I want to take for this site.
Essay Section
Archive
Tags:
postsmy_writingactivismhow_toecologysustainabilitycompostCompost Bin for Balconies: a How-To Guide
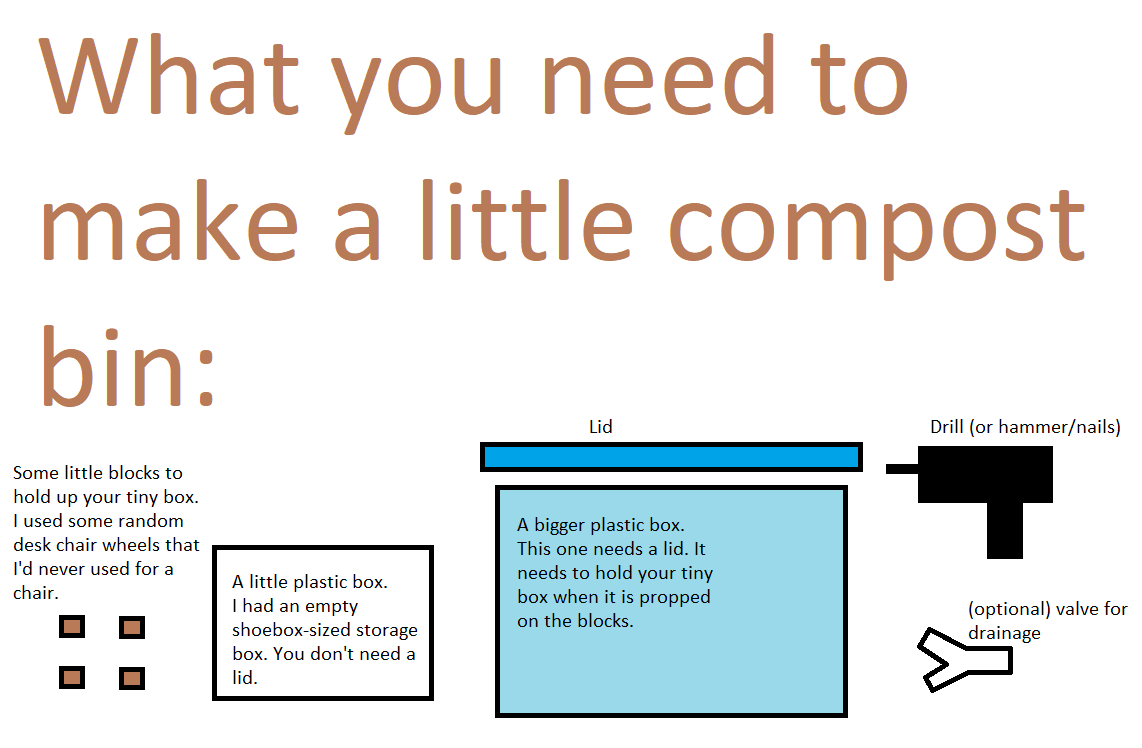
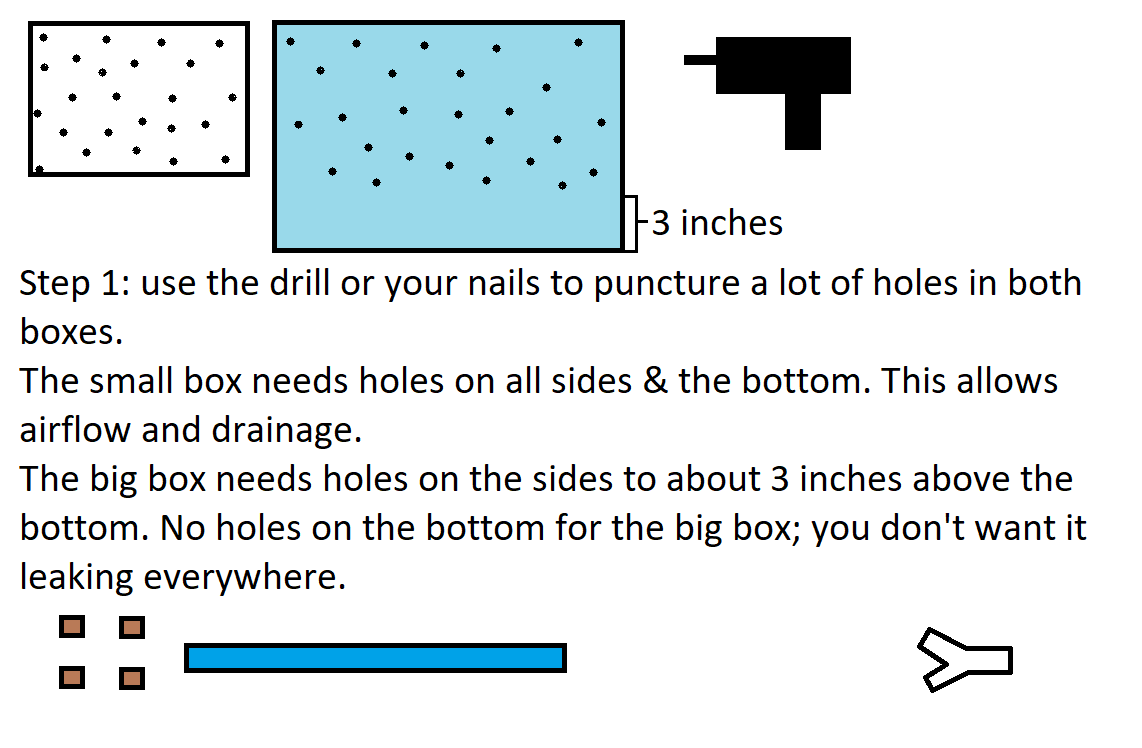
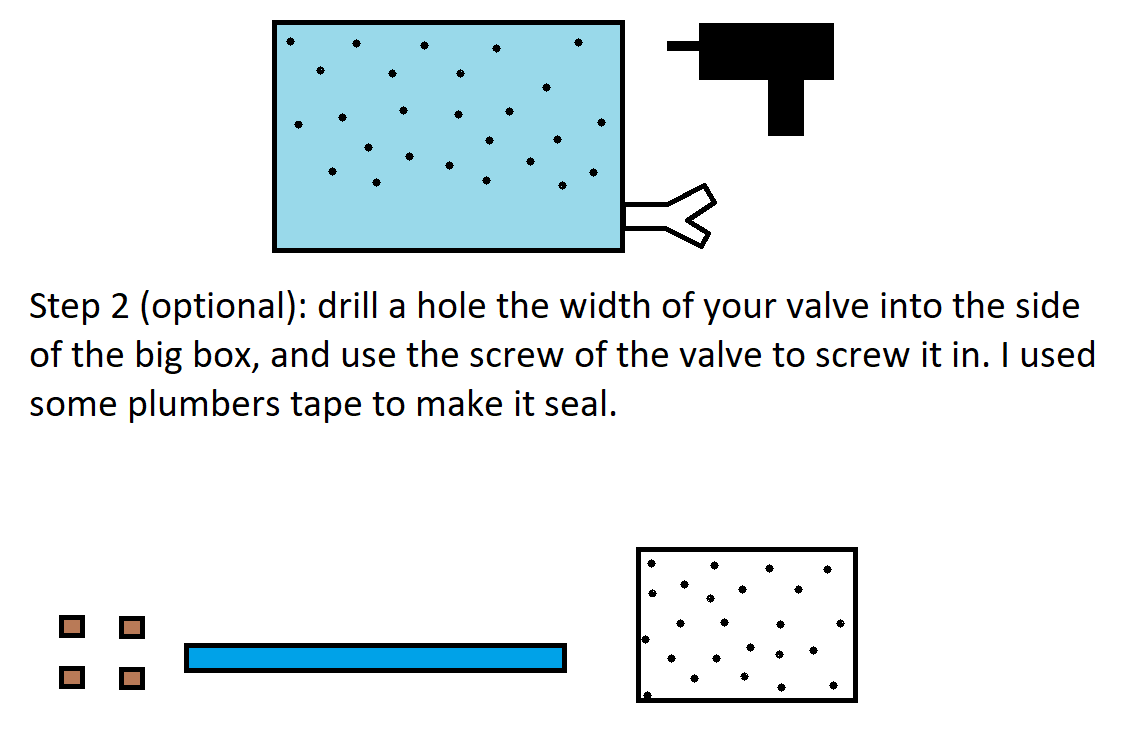
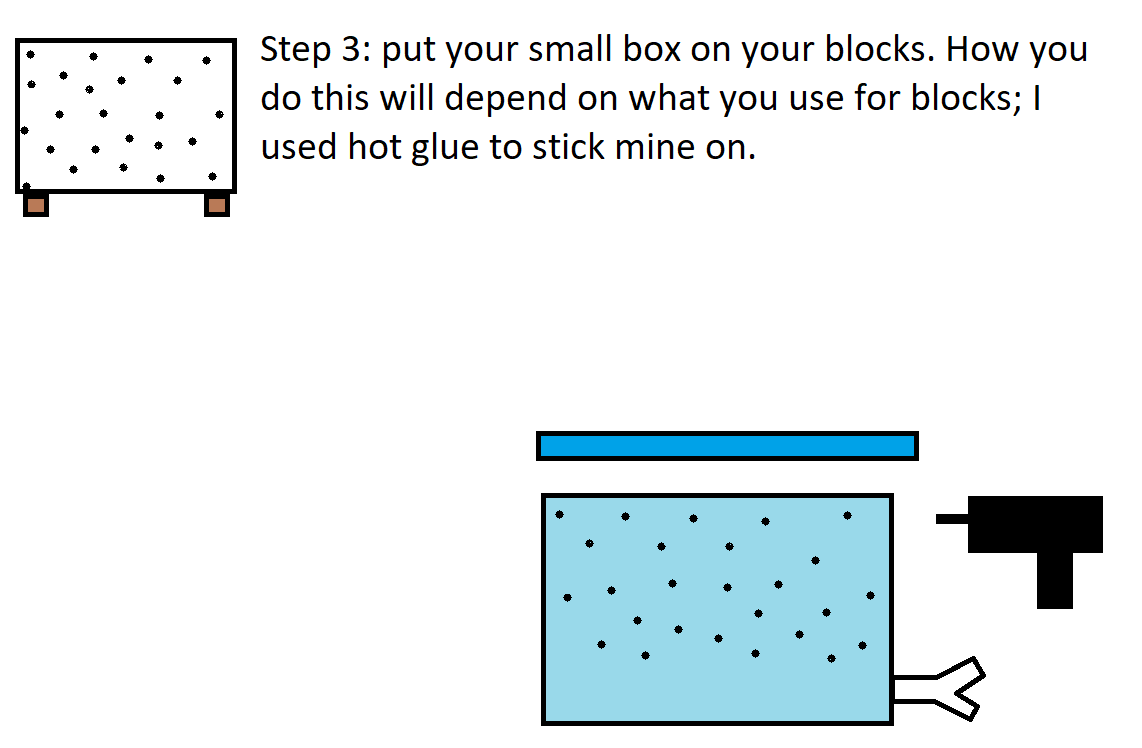
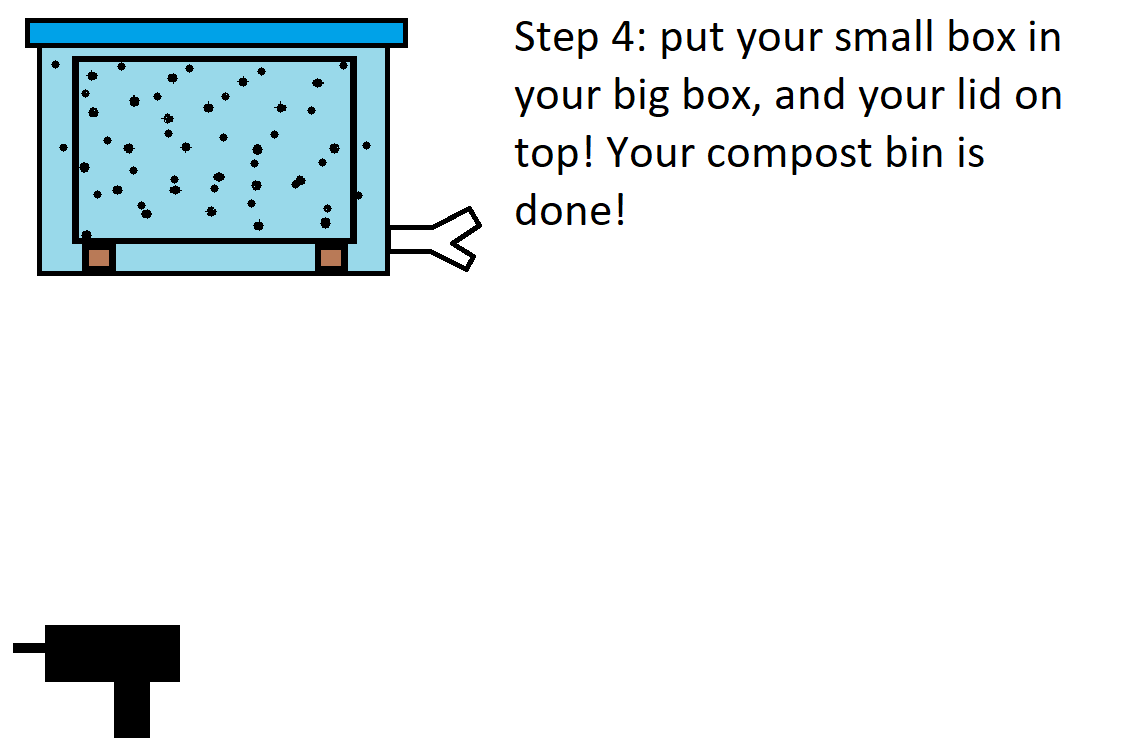
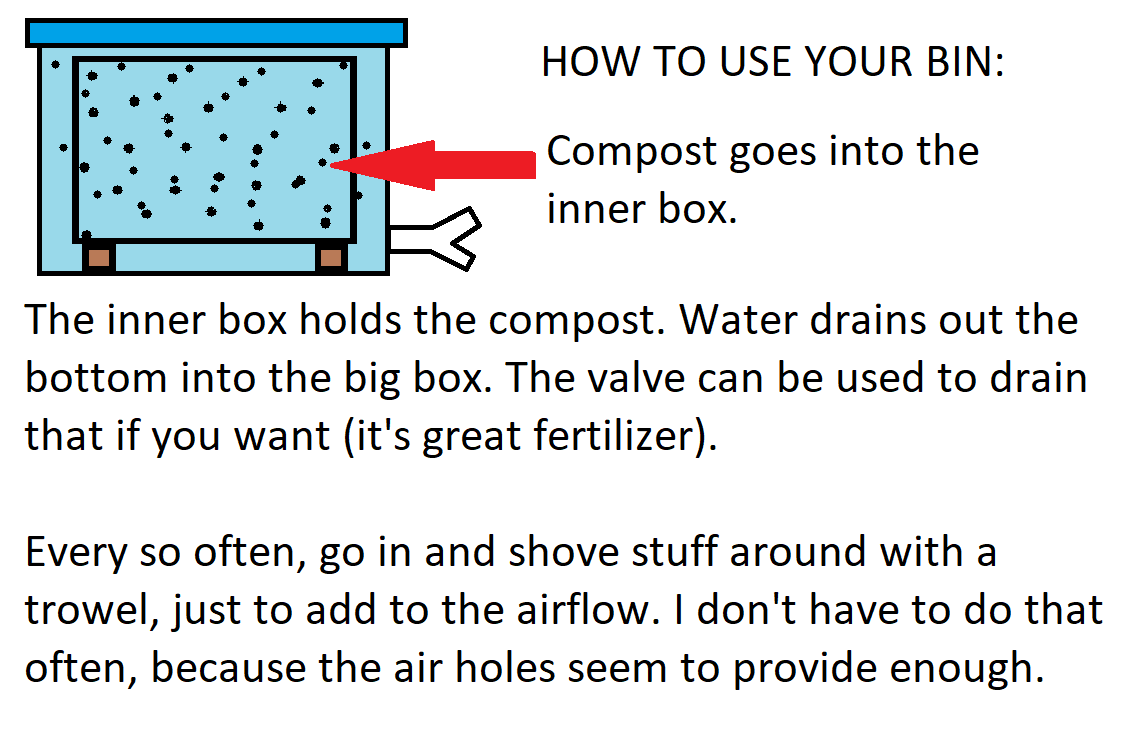
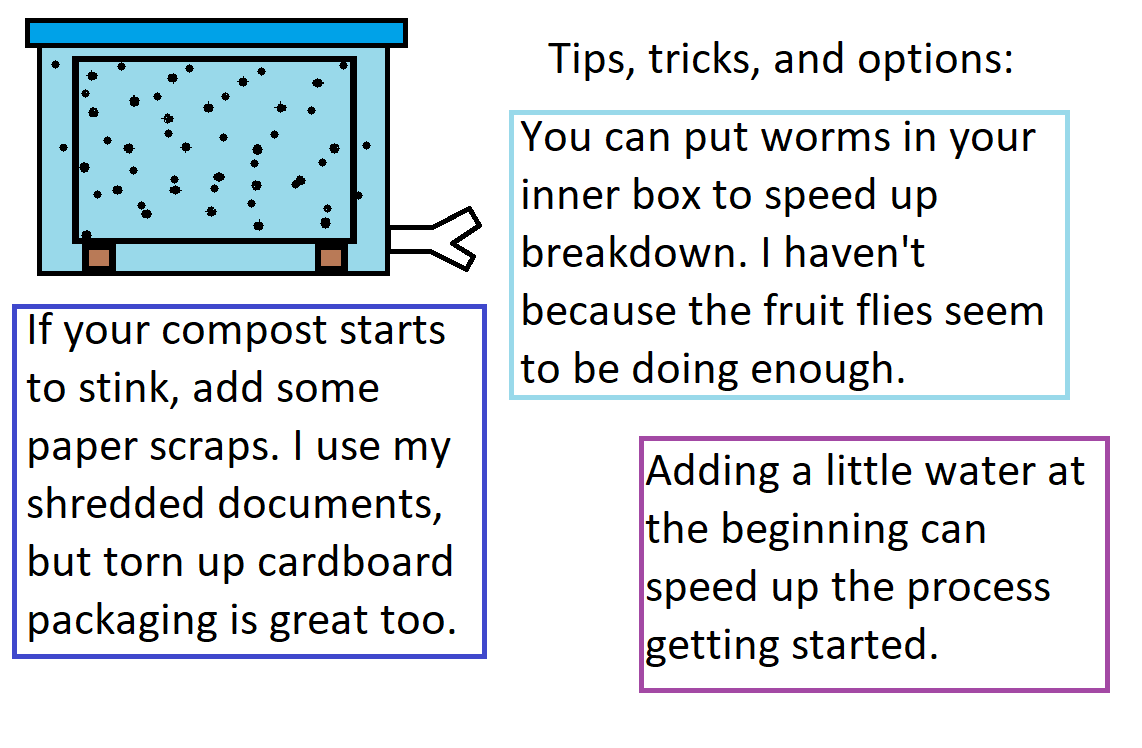
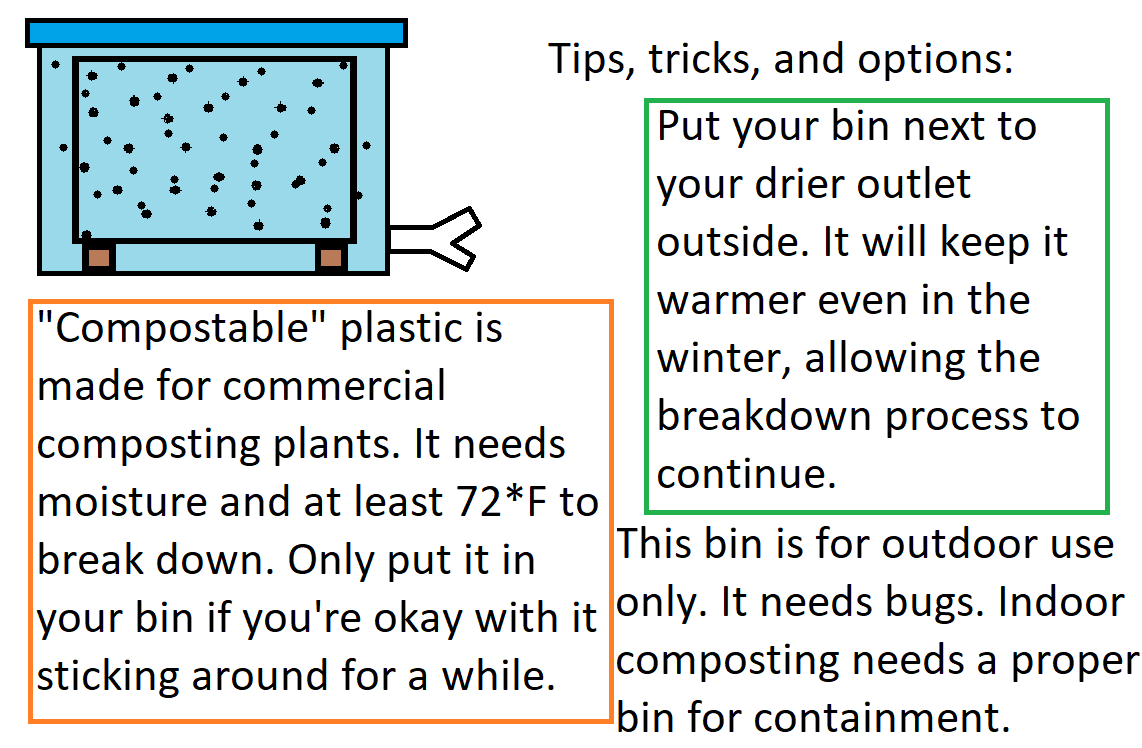
I've been asked on Tumblr how I compost, and so I've put together a little tutorial on how I made my compost bin. I pulled out my good friend Microsoft Paint for the pictures and used my best 3rd grade presentation skills, so here we go.
This comments section will not email you if I respond, even if you leave an email. I'm working on it.

